If you work with PDF files in Power Automate, you will already know that even simple PDF tasks can become awkward surprisingly quickly.
Things like splitting a PDF, extracting text, merging files together, or pulling out a specific range of pages often end up needing premium third-party connectors, complicated workarounds, or custom code.
To make that easier, I have now released a set of free PDF tools for Power Automate.
These tools are designed to handle common PDF tasks directly inside your flows, without the usual friction.
The current set of free PDF actions includes:
- Extract PDF Info
- Extract Pages
- Extract Text
- Merge PDFs
- Optimize PDFs
- Set Metadata
- Split PDF
You can read more about them here:
Free PDF Tools for Power Automate
Why I released them
A lot of Power Automate users need to work with PDFs, but the built-in options are limited and many external solutions can be expensive for smaller use cases.
I wanted to make a useful set of PDF actions available that people could start using straight away, especially for the kinds of everyday document handling tasks that come up again and again in real flows.
My own use case was needing to optimise the size of PDFs before sending them out and storing them.
Where to find the tools
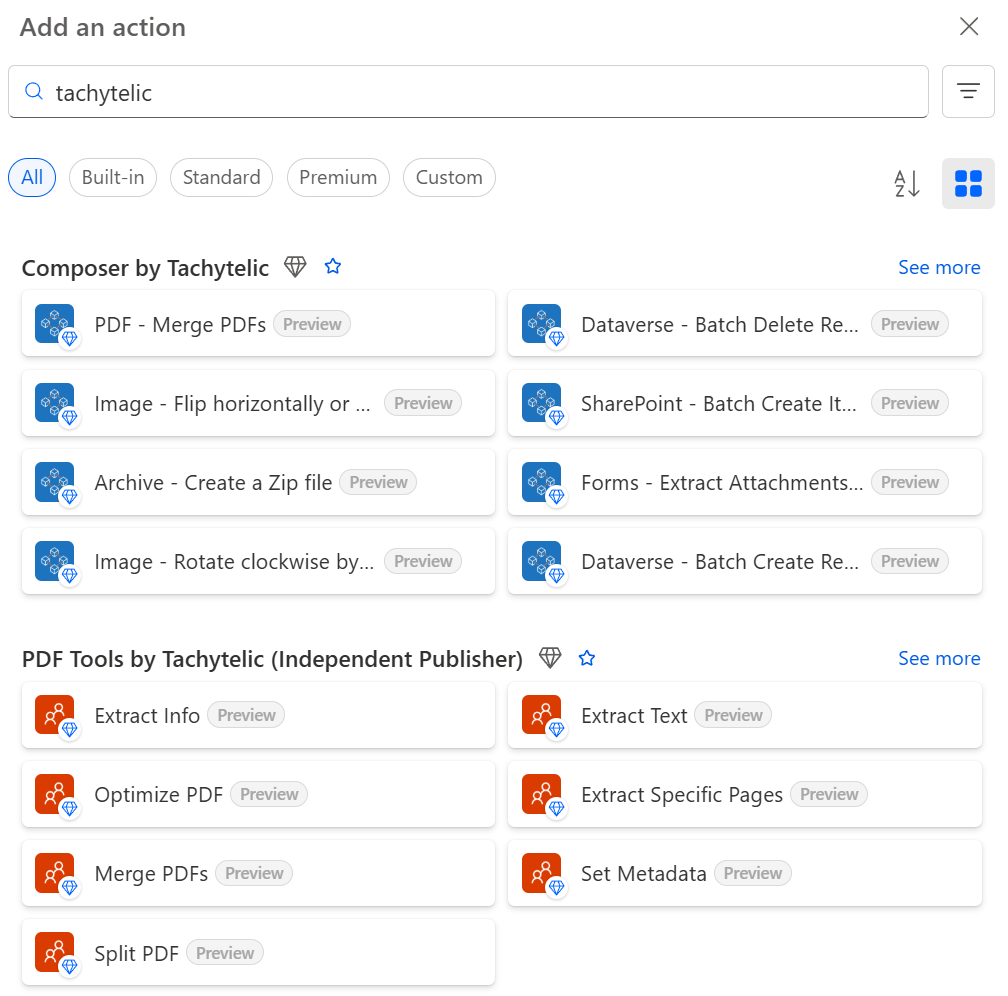
To find the PDF tools in Power Automate, open the connector library and search for “Tachytelic”.
That will show the actions from Composer and below that you will see the free PDF functionality.
Typical use cases
These tools can help with scenarios such as:
- Splitting large PDFs into smaller documents
- Extracting text for downstream processing
- Merging multiple PDFs into one file
- Pulling out selected page ranges
- Reading document metadata
- Reducing file size for storage or email
- Updating PDF metadata as part of a document workflow
Free to use
These PDF tools are entirely free to use, so if you have a flow that needs better PDF handling, they are ready to try now. You do not need to sign up, nor do you need an API key.
If it saves you some time or a premium licence and you’d like to say thanks, you can buy me a coffee. I’m glad it’s useful either way.