Setting up a Multi-function device to scan to email via Office 365 is easy. This Microsoft document lists the three possible methods, which are:
- SMTP Client Submission
- Direct Send
- Using an SMTP Relay
Which method you should use depends on your environment. If you already have an SMTP server configured internally, using SMTP relay may suit you better.
This post will cover the SMTP Client Submission method. The disadvantage of this method is that it requires the printer to use a licensed Office 365 account. But it is very easy to setup.
Setup scan to email from a HP Multi-function Device
I am going to demonstrate using a HP PageWide Pro 477dw MFP, but the same method will work for any brand. Before you begin configuring the printer, make sure you know the username and password of the Office 365 account you are going to use.
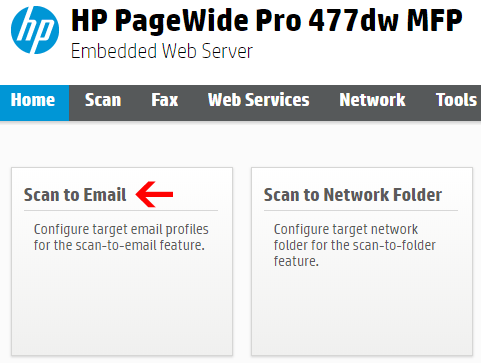
- Login to the printers web interface.
- Find the “Scan to Email” options:
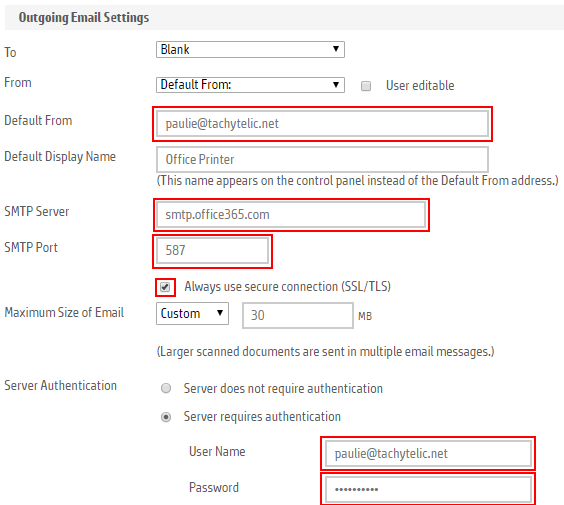
- Now you need to enter the following:
- From Address: Use the Office 365 Account Email Address you want to use for the printer
- SMTP Server: smtp.office365.com
- SMTP Port: 587
- Tick the box that says “Always use secure connection (SSL/TLS)”
- Username: Use the Office 365 Account Email Address you want to use for the printer
- Password: Enter the password for the account you want to use.
- Scan a document!
The HP PageWide has got a nice internal address book for storing email addresses which makes scanning to email quick and easy.
Here is a video showing how to setup scan to email on Office 365 as per the above:
Dan The Man Skody says
Thanks for the help!
Ryan says
does this work even if multifactor authentication is turned in in office 365?
Wes Miller says
Doesn’t work on HP LaserJet Pro 200 colorMFP M276nw, but does on HP LaserJet Pro MFP M225dw and the setup pages are identical. Both are on networks that are on the Internet and I can access their web interfaces. Any thoughts?
Paulie says
Could be that one supports TLS and the other does not – have you checked for updated firmware?
Bells says
Had same issue, One device supported TLS , so I could use SMTP auth other device did not support TLS so had to use SMTP relay
johnner says
can this workin xerox mfp also
Michael says
What about licensing? M365 licensing is user based. Usage of the same credentials for all users of a device would be a violation of Microsofts licensing terms.
Paulie says
Don’t do it then!
William says
What about modern authentication? Is it supposed by any devices?
Yev says
Don’t forget about legacy-smtp.office365.com for devices that don’t support tls1.2
https://learn.microsoft.com/en-us/exchange/clients-and-mobile-in-exchange-online/opt-in-exchange-online-endpoint-for-legacy-tls-using-smtp-auth